
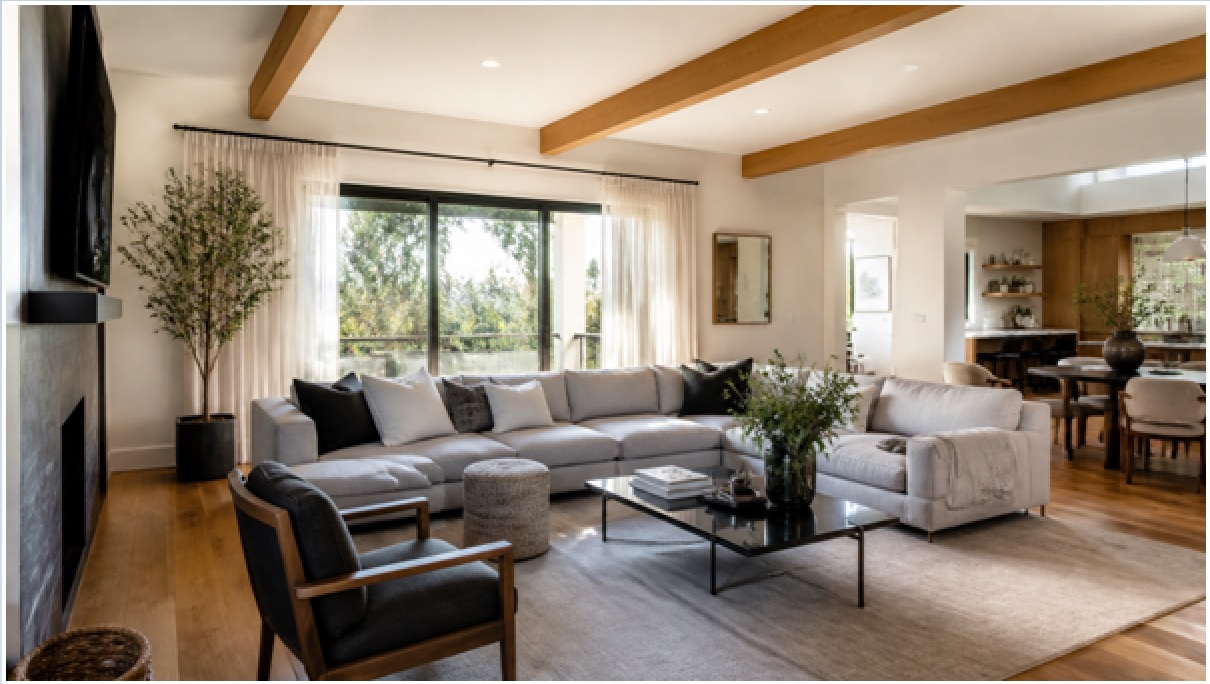
An AI room design generator takes one photo of your existing room and returns a photorealistic redesign in roughly 30 seconds, keeping the walls, windows, and dimensions in place while swapping furniture, color, and materials. That speed is the appeal: for the price of one throw pillow you can test ten looks before you move a single piece of real furniture. But the results are only as good as the inputs you feed it. Below is how these tools actually work under the hood, and the specific habits that separate a convincing render from an obviously fake one.
What an AI room design generator actually does
It reads the geometry of your uploaded photo, then repaints the surfaces and objects to match a style you choose while preserving the room’s structure. The model detects where the floor, walls, and ceiling meet, identifies fixed elements like windows and doorways, and treats them as anchors. Everything the AI is allowed to change, the furniture, rugs, wall color, lighting, and decor, gets regenerated on top of that skeleton. This is why a good render still looks like your room and not a stock catalog photo: the perspective, window placement, and proportions carry over.
Tools like AI room design tool extend this beyond a single interior. GenRoom handles interiors, house facades and exteriors, yards and landscaping, and virtual staging for empty listings, all from the same upload-and-pick-a-style flow. The important mental model: the output is a visualization, not a construction blueprint. It shows you what a direction could look like, not load-bearing measurements or a contractor-ready plan.
Why photo quality decides everything
A sharp, well-lit, straight-on photo is the single biggest factor in a realistic result. The AI infers depth and surfaces from pixels, so a dark, blurry, or heavily angled shot forces it to guess, and guesses are where the fake look creeps in. Warped perspective, melted furniture edges, and impossible shadows almost always trace back to a weak source image.
Follow these rules when you shoot the room:
- Shoot in daylight or turn on every light. Even, bright exposure gives the model clean surfaces to work from.
- Stand at the widest wall and capture two or three walls in one frame so the AI understands the room’s shape.
- Hold the camera level, roughly chest height, and avoid tilting up or down, which distorts the ceiling and floor lines.
- Declutter first. Clear laundry, cables, and countertop mess; the AI redesigns what it sees, and clutter confuses object detection.
- Skip the ultra-wide fisheye lens. Curved walls are hard to redesign cleanly.
One quotable rule of thumb: a five-second cleanup and a steady daylight shot will beat any premium setting you can toggle later.
How to choose a style that reads as realistic
Pick a style whose materials already suit your room’s bones, then refine, rather than forcing a dramatic mismatch. With 50+ styles available, it is tempting to drop a maximalist Art Deco scheme onto a tiny low-ceiling rental. The render will technically work, but it will read as staged because the scale is wrong. Realistic results come from matching the style’s furniture footprint and lighting to what your space can physically hold.
A practical approach:
- Start neutral. Scandinavian, modern, and contemporary styles forgive lighting quirks and small rooms.
- Generate two or three variations of the same style before switching styles entirely. Small rooms especially benefit from lighter palettes and low-profile furniture.
- Match wood and metal tones to fixed elements you are keeping, like flooring or window frames, so the render feels grounded.
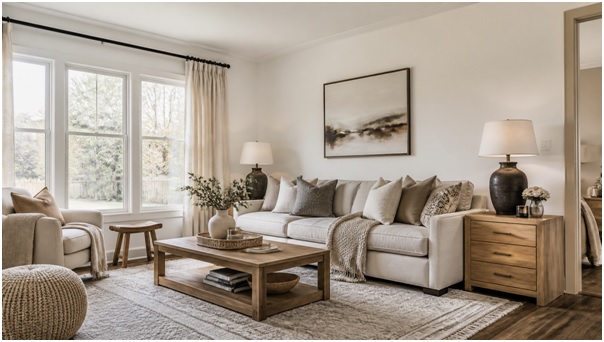
A neutral, well-scaled bedroom scheme reads as realistic because the furniture footprint fits the room.
Refining the result with the AI Editor and Pro settings
The first render is a draft; refinement is where it becomes usable. Instead of regenerating from scratch and hoping, you steer the output with targeted text prompts. GenRoom’s AI Editor lets you type instructions like “make the sofa charcoal linen” or “add a large window on the left wall” and applies just that change. This is far more precise than re-rolling the whole image and getting a completely different room each time.
A few settings worth knowing:
| Feature | What it does | When to use it |
| AI Editor | Text-prompt edits to specific objects or areas | Fixing one element without losing the rest |
| Pro Model | Higher-fidelity generation | Final presentation-quality renders |
| 4K output | High-resolution export | Printing or client sharing |
| Up to 5 photos | Multiple angles of the same room | Complex or large spaces |
| Private generation | Keeps your renders off public feeds | Client work or a listing you haven’t launched |
Uploading up to five photos of the same space from different angles helps the model reconstruct a room it can’t fully see from one shot, which matters for L-shaped living rooms and open-plan kitchens.
What it costs and where it fits
You can start free with starter credits, then pay per tier once you know the tool fits your project. Pricing runs from a $6.99 Start plan through a $19.99 Basic plan to a $29.99 Pro plan, and the free credits are enough to test whether the output quality suits your room before you commit. For most homeowners planning a single-room refresh, the entry tiers cover the handful of iterations you actually need.
Where it fits best: deciding paint colors, testing furniture layouts, previewing a facade before repainting, and staging an empty listing. Where it doesn’t: anything structural. A render will happily show a wall removed or a window added, but it is a visualization, not an engineering document. Use it to align a household or a client on a direction, then bring a contractor or designer in for the parts that involve permits, framing, or load-bearing changes.
The Bottom Line
An AI room design generator is a fast, low-cost way to see a real room in a new style before spending a dollar on furniture or paint. The tool does the heavy lifting in 30 seconds, but the realism is on you: shoot a clean, level, daylight photo, choose a style that fits your room’s scale, and refine with targeted text edits instead of endless re-rolls. Do that, and the render stops looking like AI and starts looking like a plan you can actually act on.
Frequently asked questions
How long does an AI room redesign take?
About 30 seconds per render once you upload a photo and pick a style. Most of your time goes into shooting a good photo and iterating on styles, not waiting on the AI.
Do I need any design or software skills?
No. The workflow is upload a photo, choose a style, and generate. Text-prompt editing replaces the need to learn CAD or 3D modeling tools.
Will the AI keep my room’s actual layout?
Yes. It preserves walls, windows, and dimensions as anchors and changes furniture, color, and materials on top of that structure, so the result matches your real space.
Can it design outdoor spaces and exteriors too?
Yes. Beyond interiors, GenRoom handles house facades, yards and landscaping, and virtual staging, all from the same photo-upload flow.
Is an AI render enough to start a renovation?
It’s enough to decide a direction and align everyone on a look. For structural work, treat the render as a visualization and hand the blueprint stage to a licensed professional.